Building our new house:
Back porch and columns
The house will have two large porches, front and back. The front of the house faces northeast, directly onto the Potomac River and directly into the face of the worst wind and storms. The rear of the house faces southwest, into calmer, warmer weather.
We designed these porches to be just like the old-fashioned porches we grew up with in Alabama and Mississippi -- the porch floors will be tongue-and-groove pine boards -- ditto for the ceiling.
- The ceiling will be painted sky blue, another Deep South tradition while the porch floors will be stained to complement the siding on the house.
- The back porch will be screened while the front porch will be open.
- The back porch will have two ceiling fans.
- Each porch will have eight wooden columns -- six full columns across the front with two half columns where the porch joins the house.
Installing the porch floors and ceilings is very labor intensive -- each strip of flooring and ceiling material must be laid in individually, glued down, then fastened with stainless steel trim screws. Here are some photos.
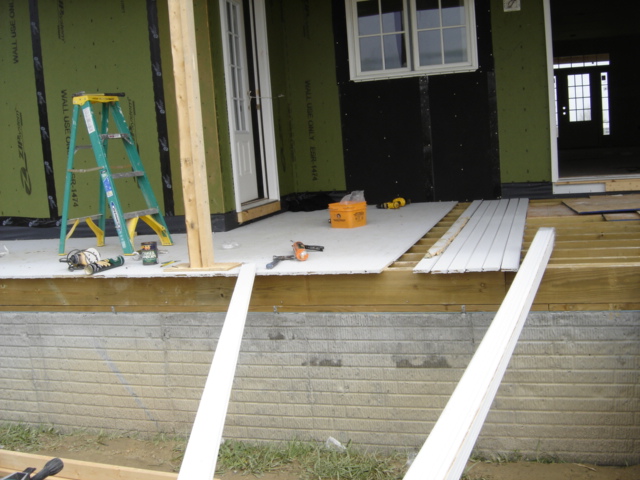
Here is the start of the back porch floor. The grey-white boards are the pine tongue-and-groove floor boards; the color is from the primer that is applied in the factory. The boards on the left have been fastened to the floor framing with the boards on the right are ready to be fastened. To fasten the boards to the frame, we first put down a glob of construction adhesive on the top of the framing lumber (that's the dirty brown horizontal lumber in this photo, under the floor boards). Then, a strip of flooring is laid down and its tongue is fitted into the groove of the adjacent strip. Then, where each floorboard crosses a framing member, a pilot hole is drilled and a 2-1/2-inch long stainless steel trim screw is driven through the flooring board into the frame member.
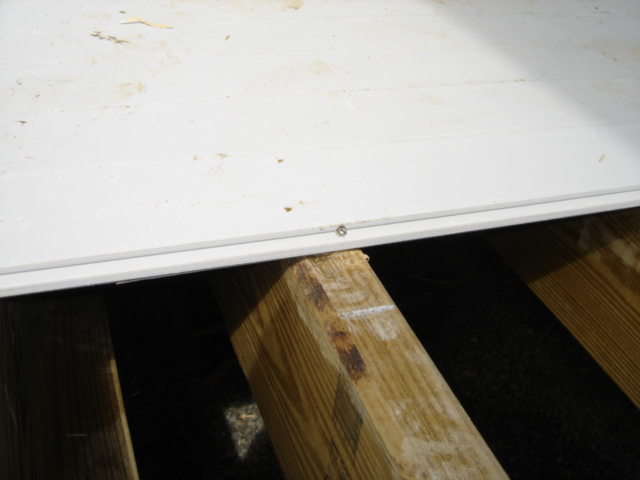
Here's a close-up view of how the floor boards are attached to the frame -- the small silver object is the head of the stainless steel trim screw that is driven through the floor board into the frame member.
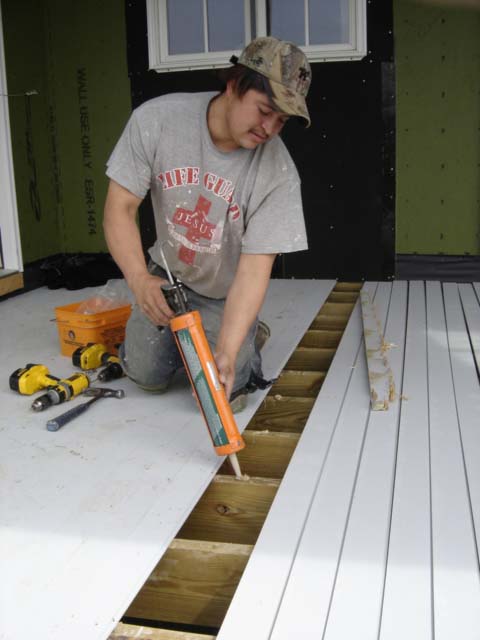
Here is our favorite carpenter, a gentleman named Carlos, installing the porch floor boards. In this photo, he is applying a glob of construction adhesive to the top of each frame member. He then will take one of the loose boards in the right of the photo, fit it tightly against the boards already in place, and screw it down.
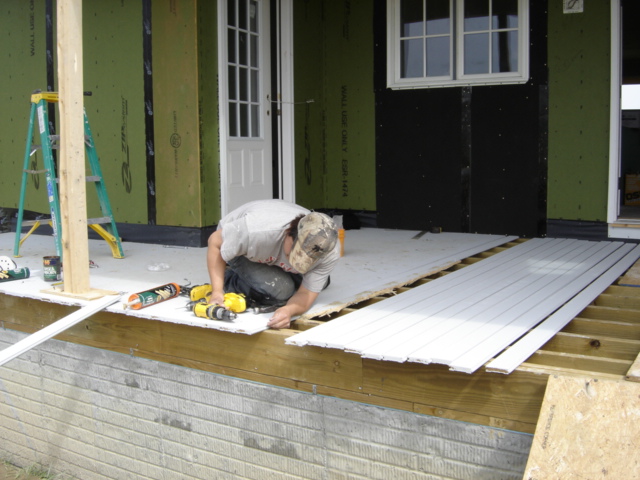
Here is Carlos again -- he's installing the screws into a board he has just put into place.
Click on this link to see the second page of porch floor work.