Orion XT-12 Intelliscope;
Newtonian Reflector
on a
Dobsonian mount;
Page Two
This page is a continuation of information about my XT-12 Intelliscope. I have not included photos of the scope being assembled -- the assembly instructions from Orion are excellent and well-illustrated. If you have questions about assembly, send an e-mail and I'll try to answer it.
Here's another photo of the scope. The OTA is the grey-brown tube sticking straight up. The Dobsonian base is the black particle board bottom part. Note there are two vertical parts of the base on which the OTA is balanced by two side bearings -- one bearing on each side of the OTA
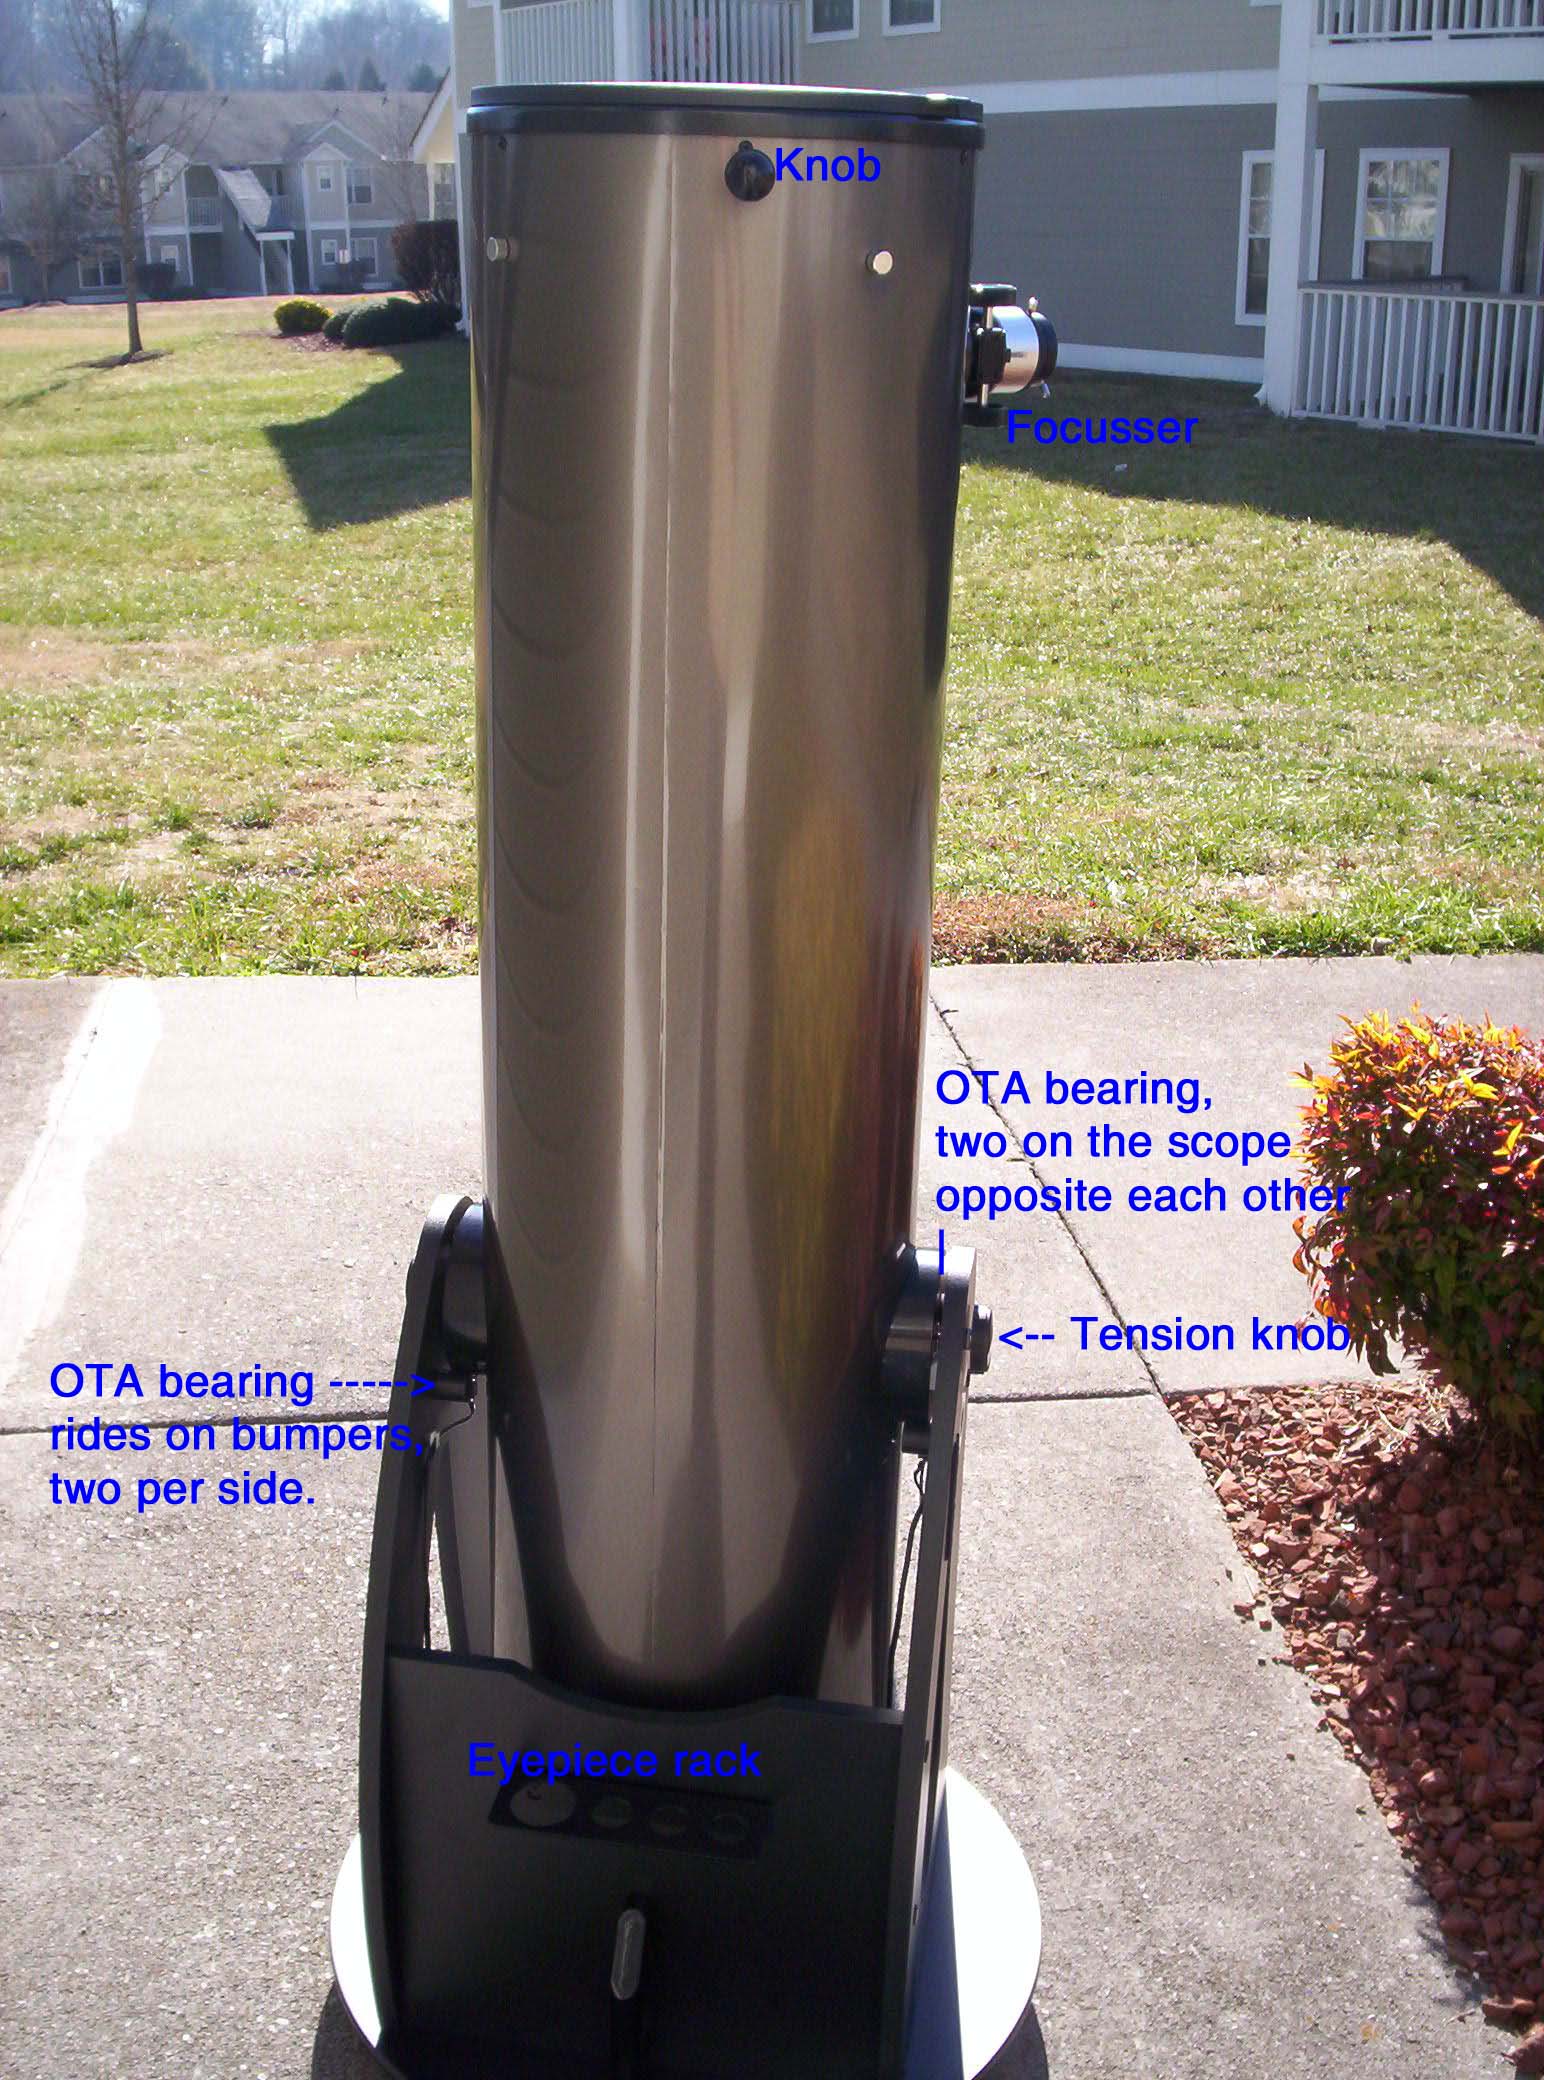
Look at the captions on this photo -- top right caption shows the OTA bearing -- two OTA bearings, these are big round objects attached permanently to the OTA. Tension knob is an adjustment to tighten tension on the OTA so it does not drop down or move up while viewing. On the other side of the OTA is a lock knob that locks the OTA to the altitude encoder wheel -- more about this later. Eyepiece rack holds one 2-inch eyepiece, three 1.25-inch eyepieces. On the left side is a caption with an arrow pointing to one of four bumpers on which the OTA bearings ride -- these are slick, the OTA bearing is slick, thus, the scope is able to swivel up or down by the OTA bearings riding on the bumpers -- the tension knob provides adjustable tension to keep the tube from moving when you are observing. The knob at the top of the OTA is used to move the tube while observing -- just grab the knob and push or pull to move the scope right, left, up, down -- of course, you can also push and pull on the OTA or the base.
Here is a close-up view of one OTA bearing.
- At the top of the photo is a spacing bumper -- note that sandwiched between the OTA bearing and the base is the encoder wheel -- when you put the OTA into the base, you can, if you're not careful, set the OTA bearing on top of the encoder wheel, destroying the encoder. This bumper protects the encoder wheel -- you'll hit the bumper, not the wheel.
- The altitude encoder wheel feeds altitude data to the Intelliscope encoder. It is locked onto the OTA bearing by the locking knob -- that's the knob on the left. When you assemble the scope, tighten this knob then there is no need to fiddle with it unless you take the OTA off the base.
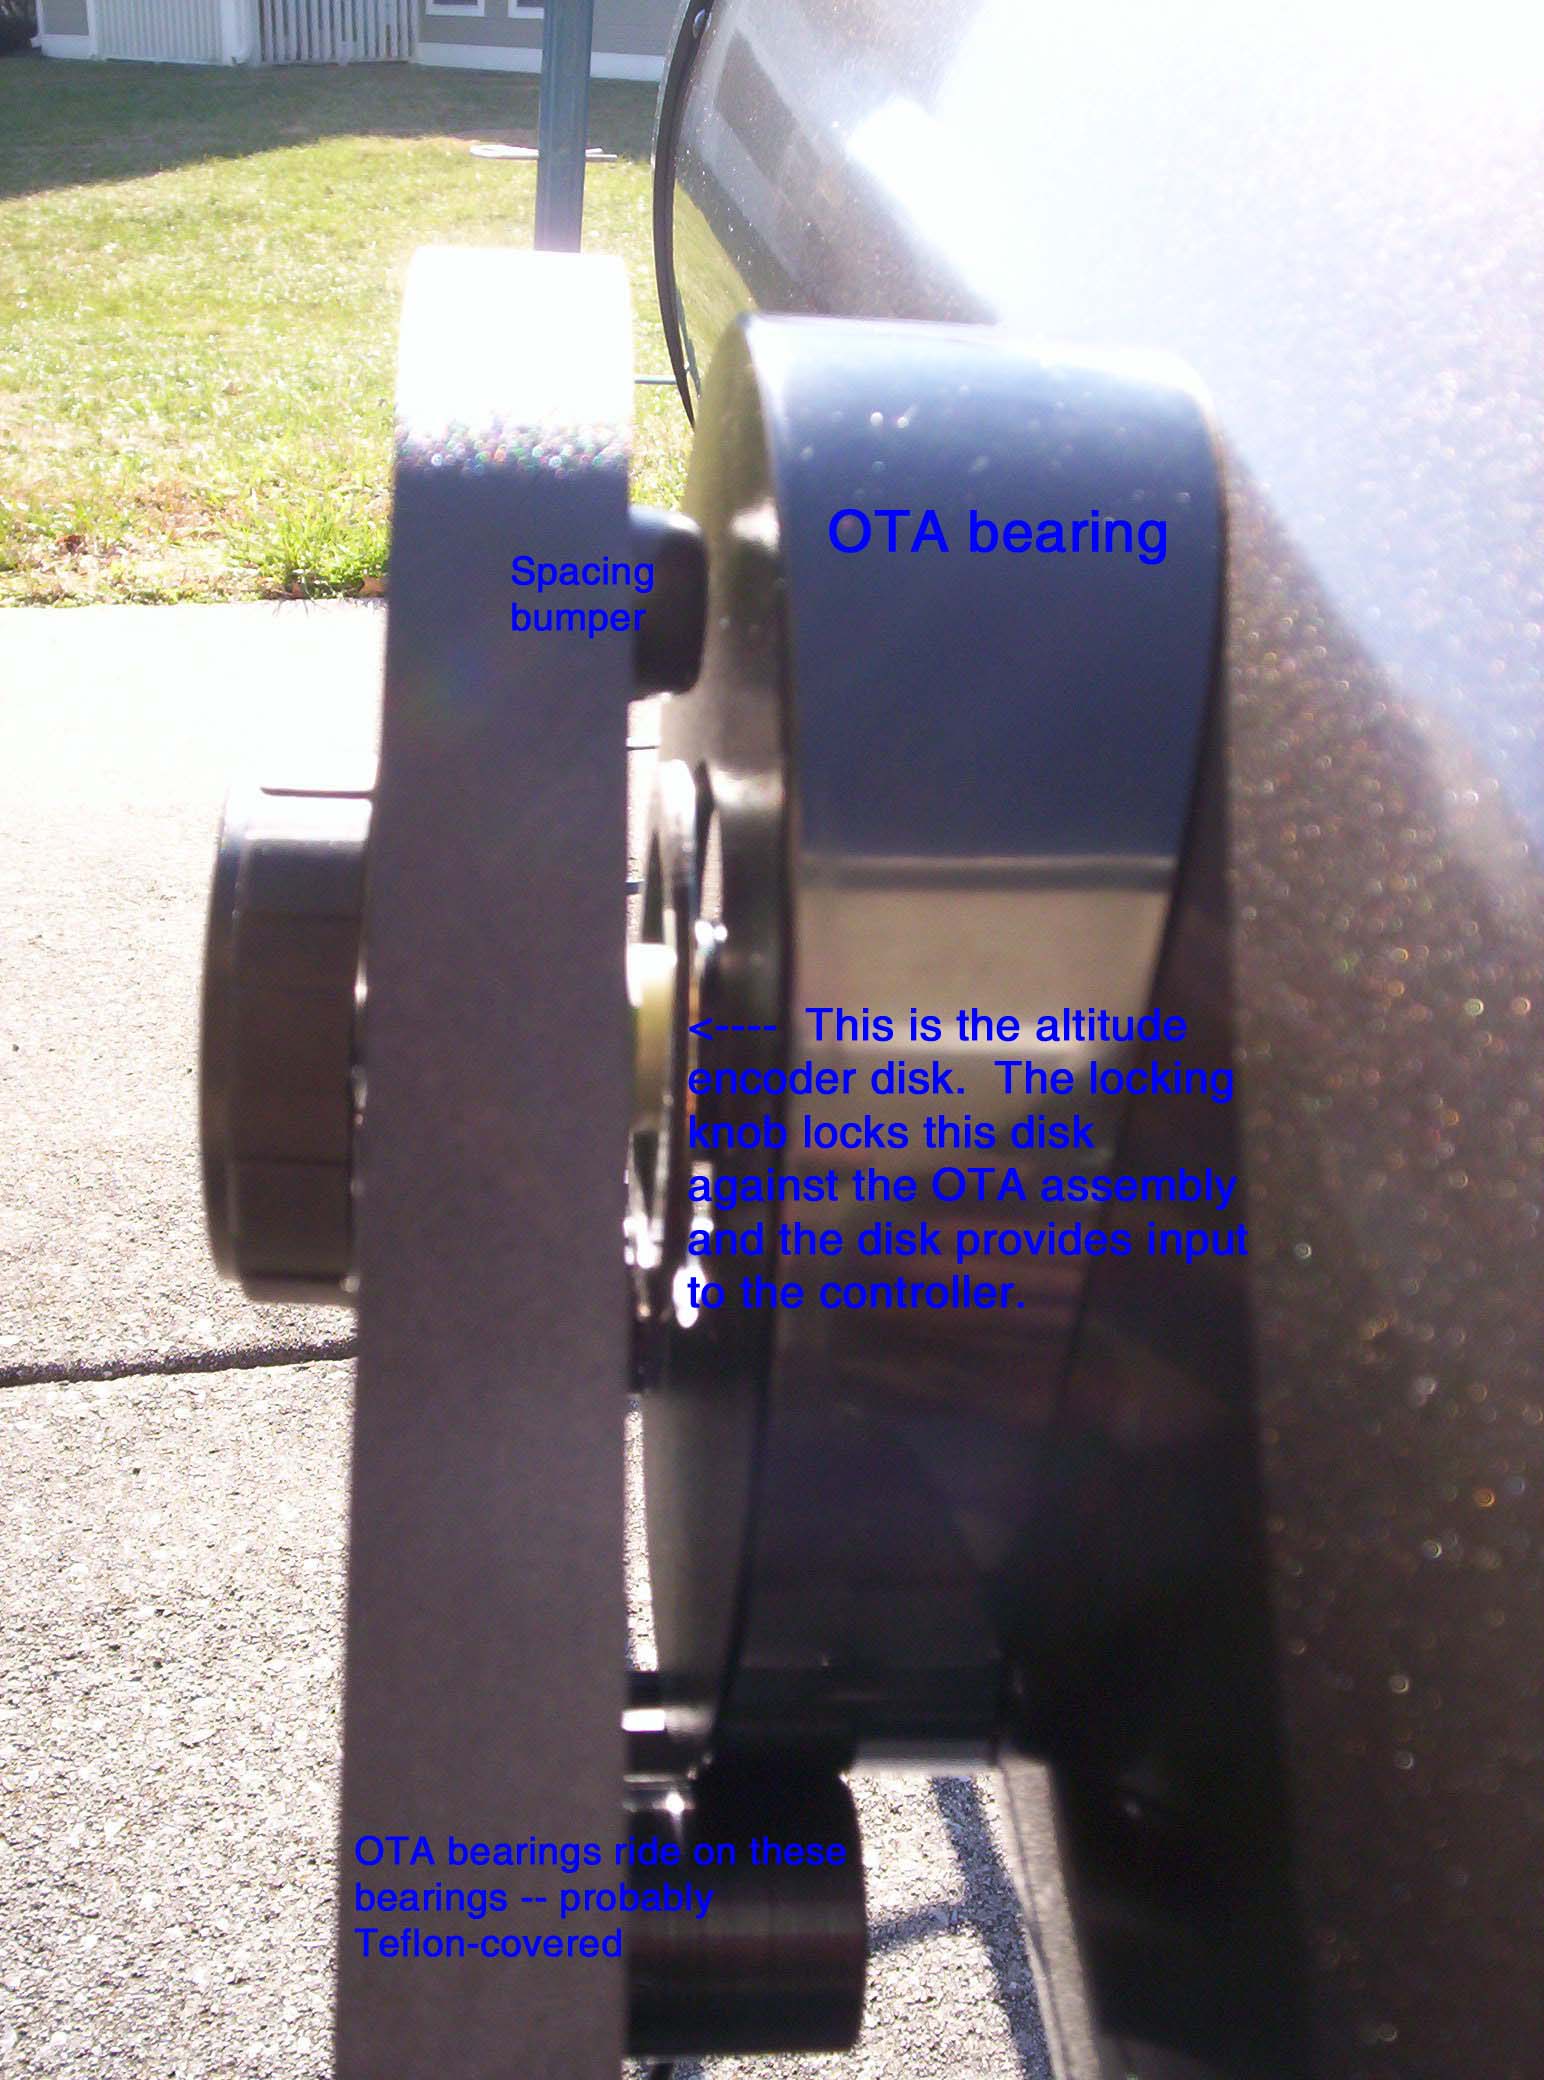
At the bottom of this photo you see one of the four bumpers on which the OTA bearing rides -- two per side.
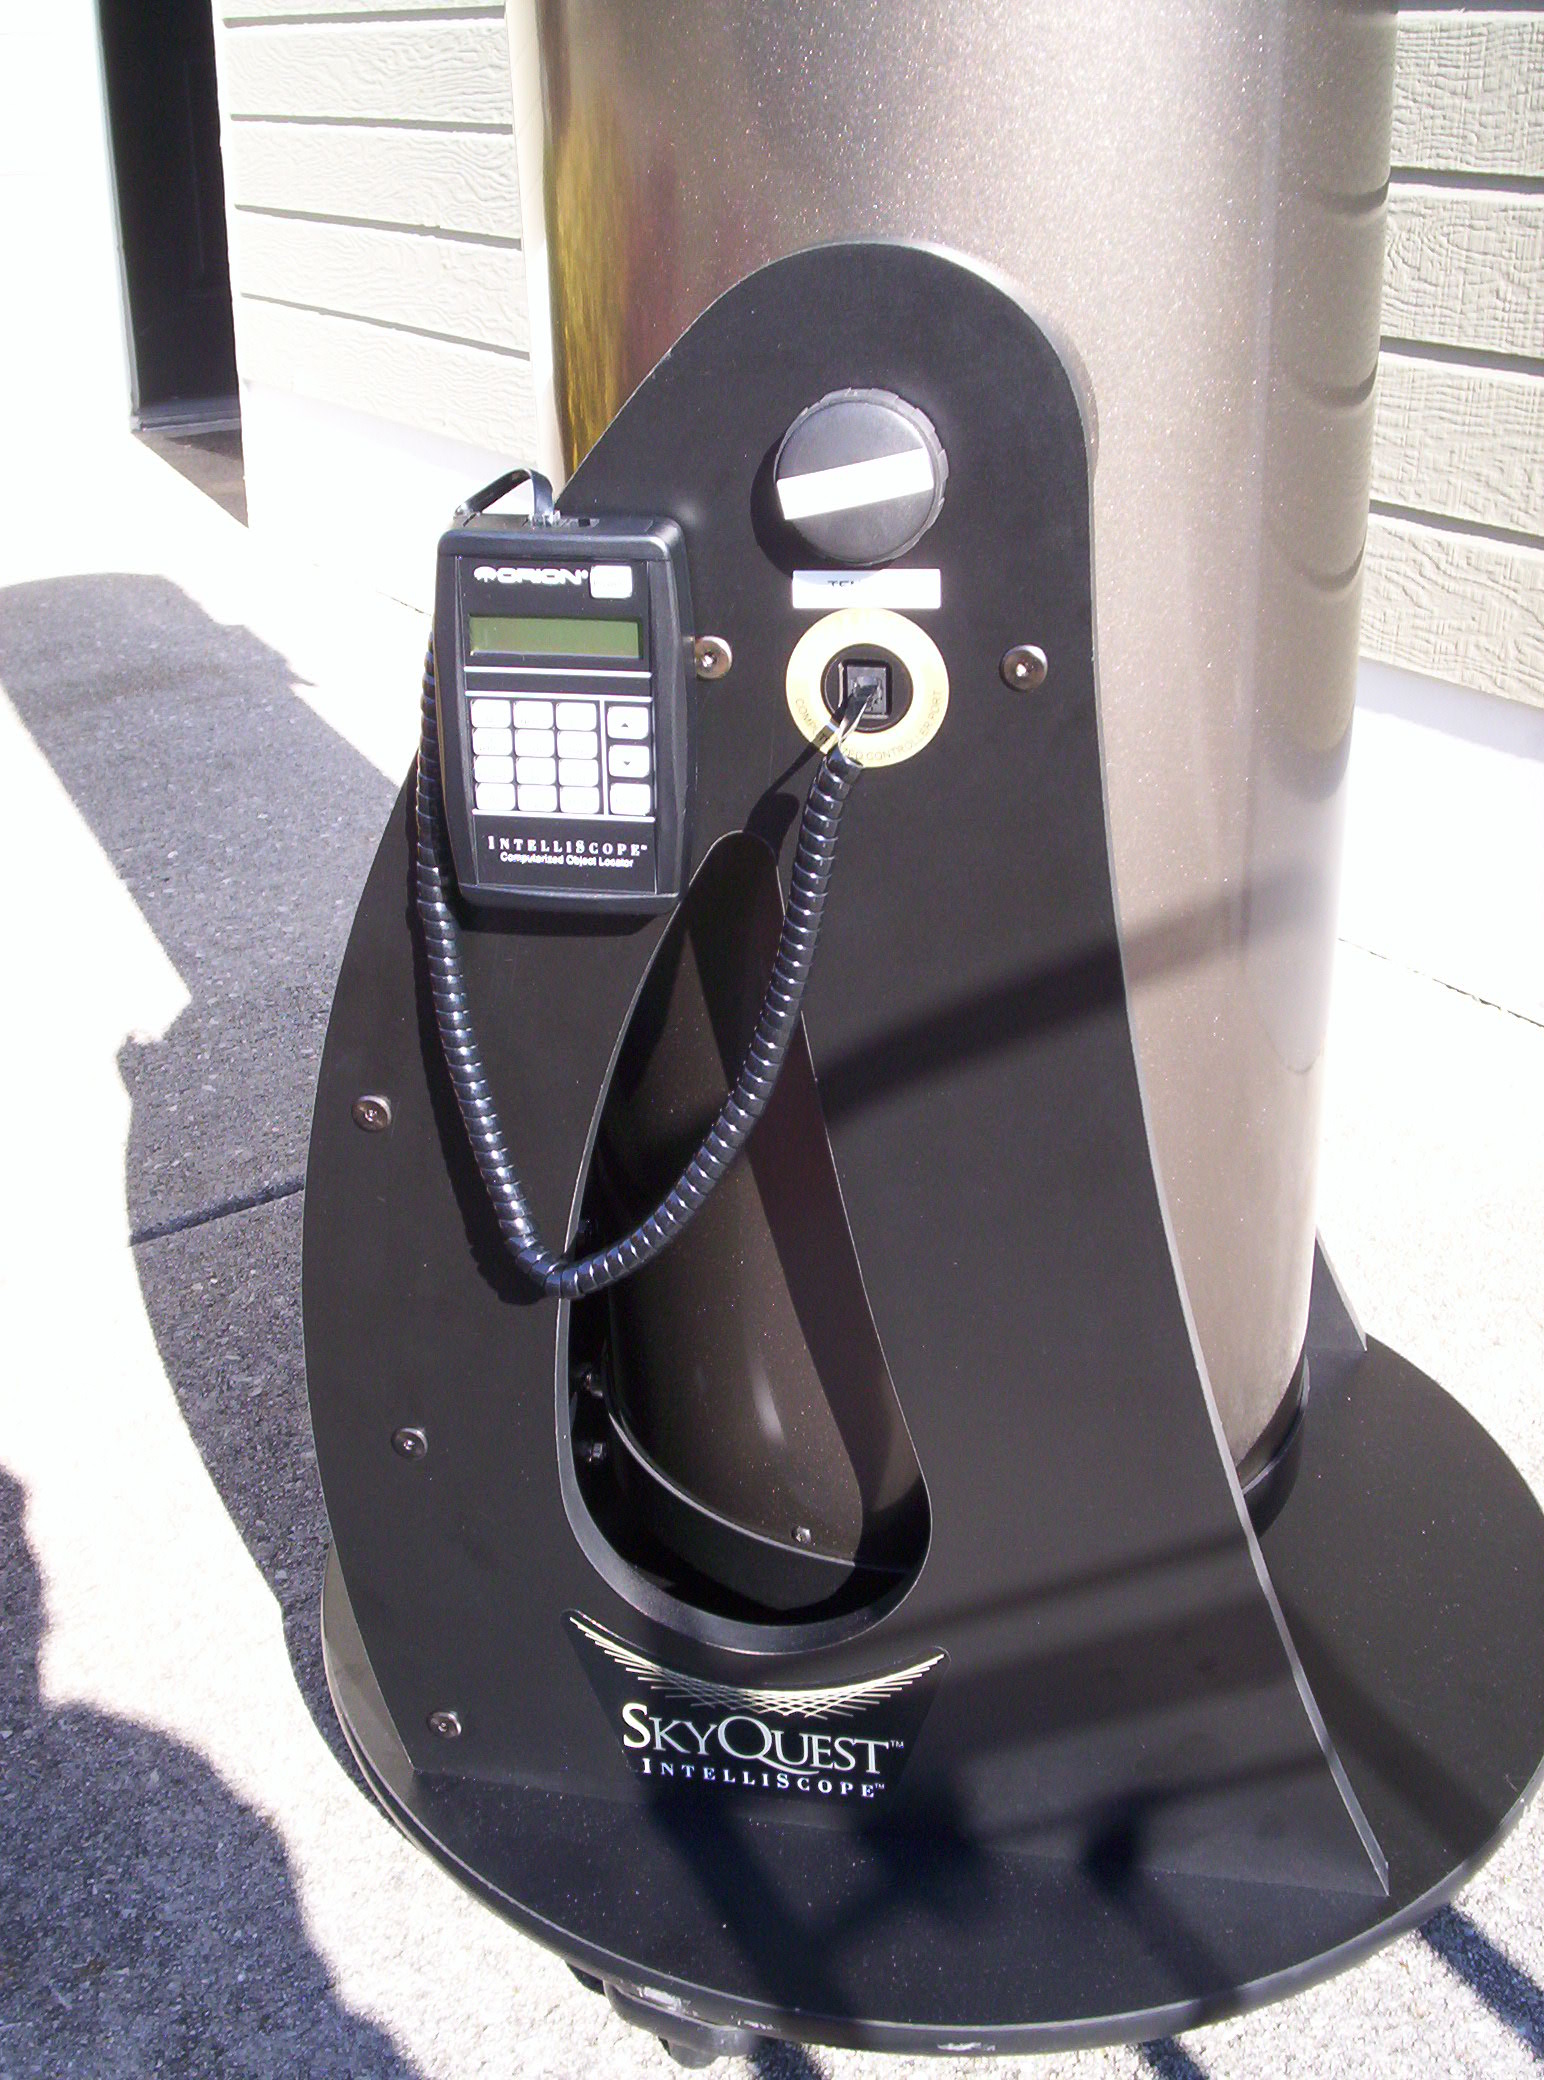
This photo shows the handheld Intelliscope controller/computer. It operates off a self-contained 9-volt battery.
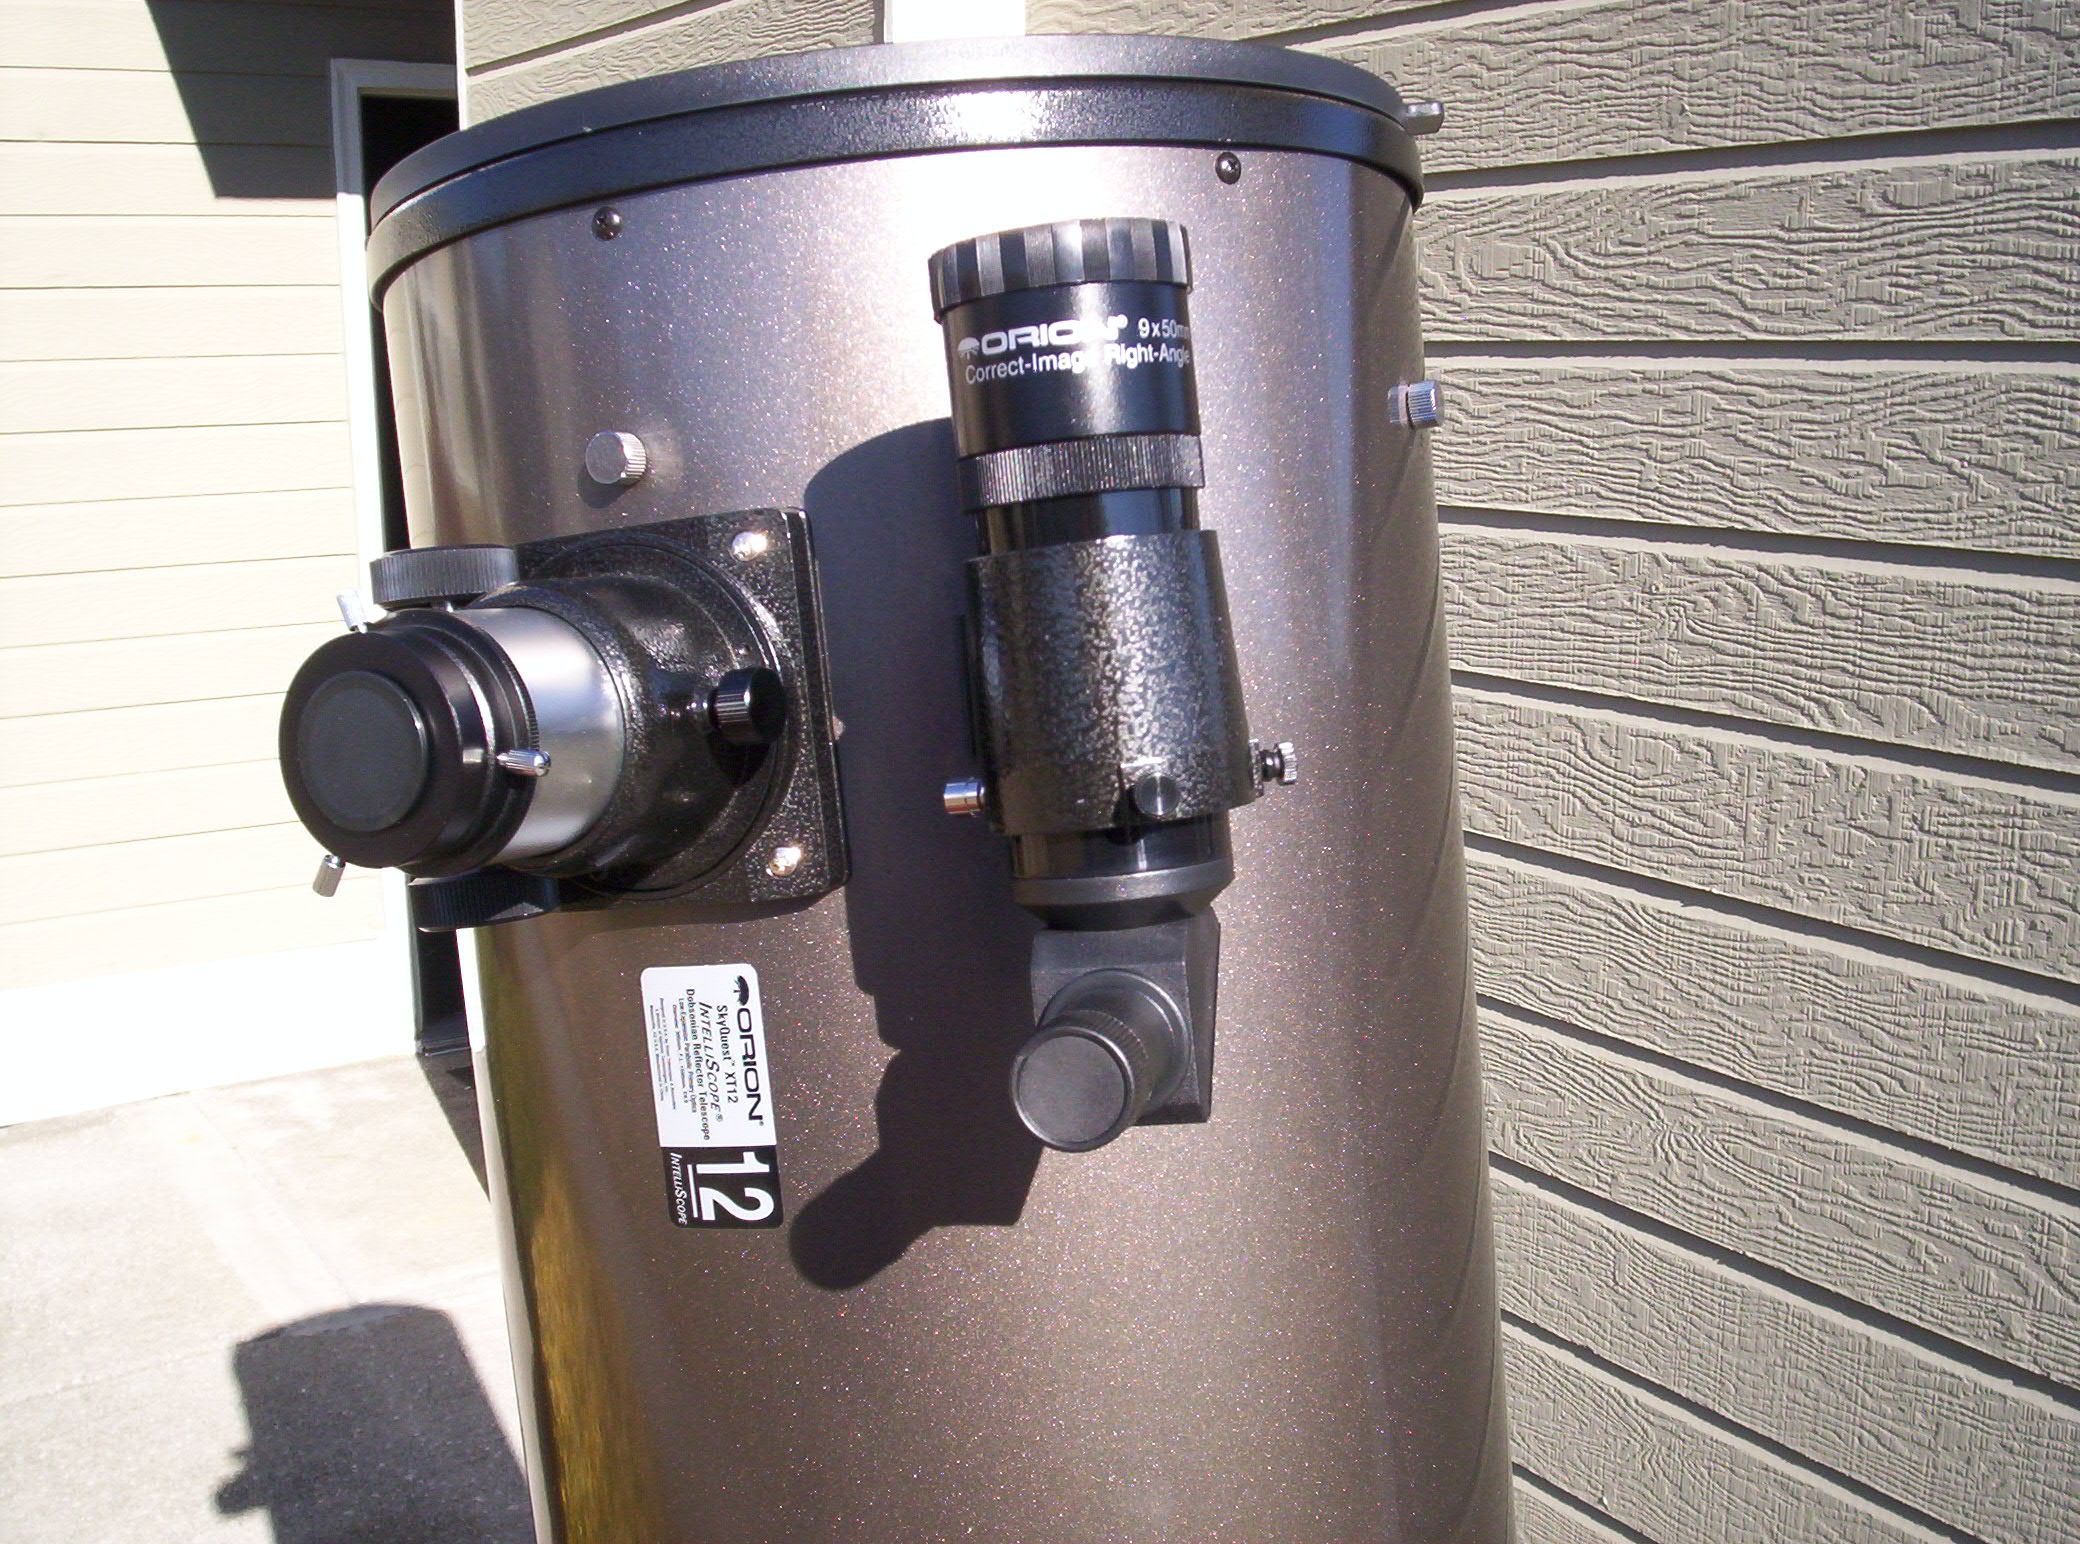
Two close-up photos of the XT-12.
| Focusser and finder scope. The scope originally came with a straight finder, I replaced that with the right-angle finder shown here. Focusser will take both 2-inch and 1.25-inch eyepieces. I plan to mount a Telrad finder to the right of the finder scope. |
 |
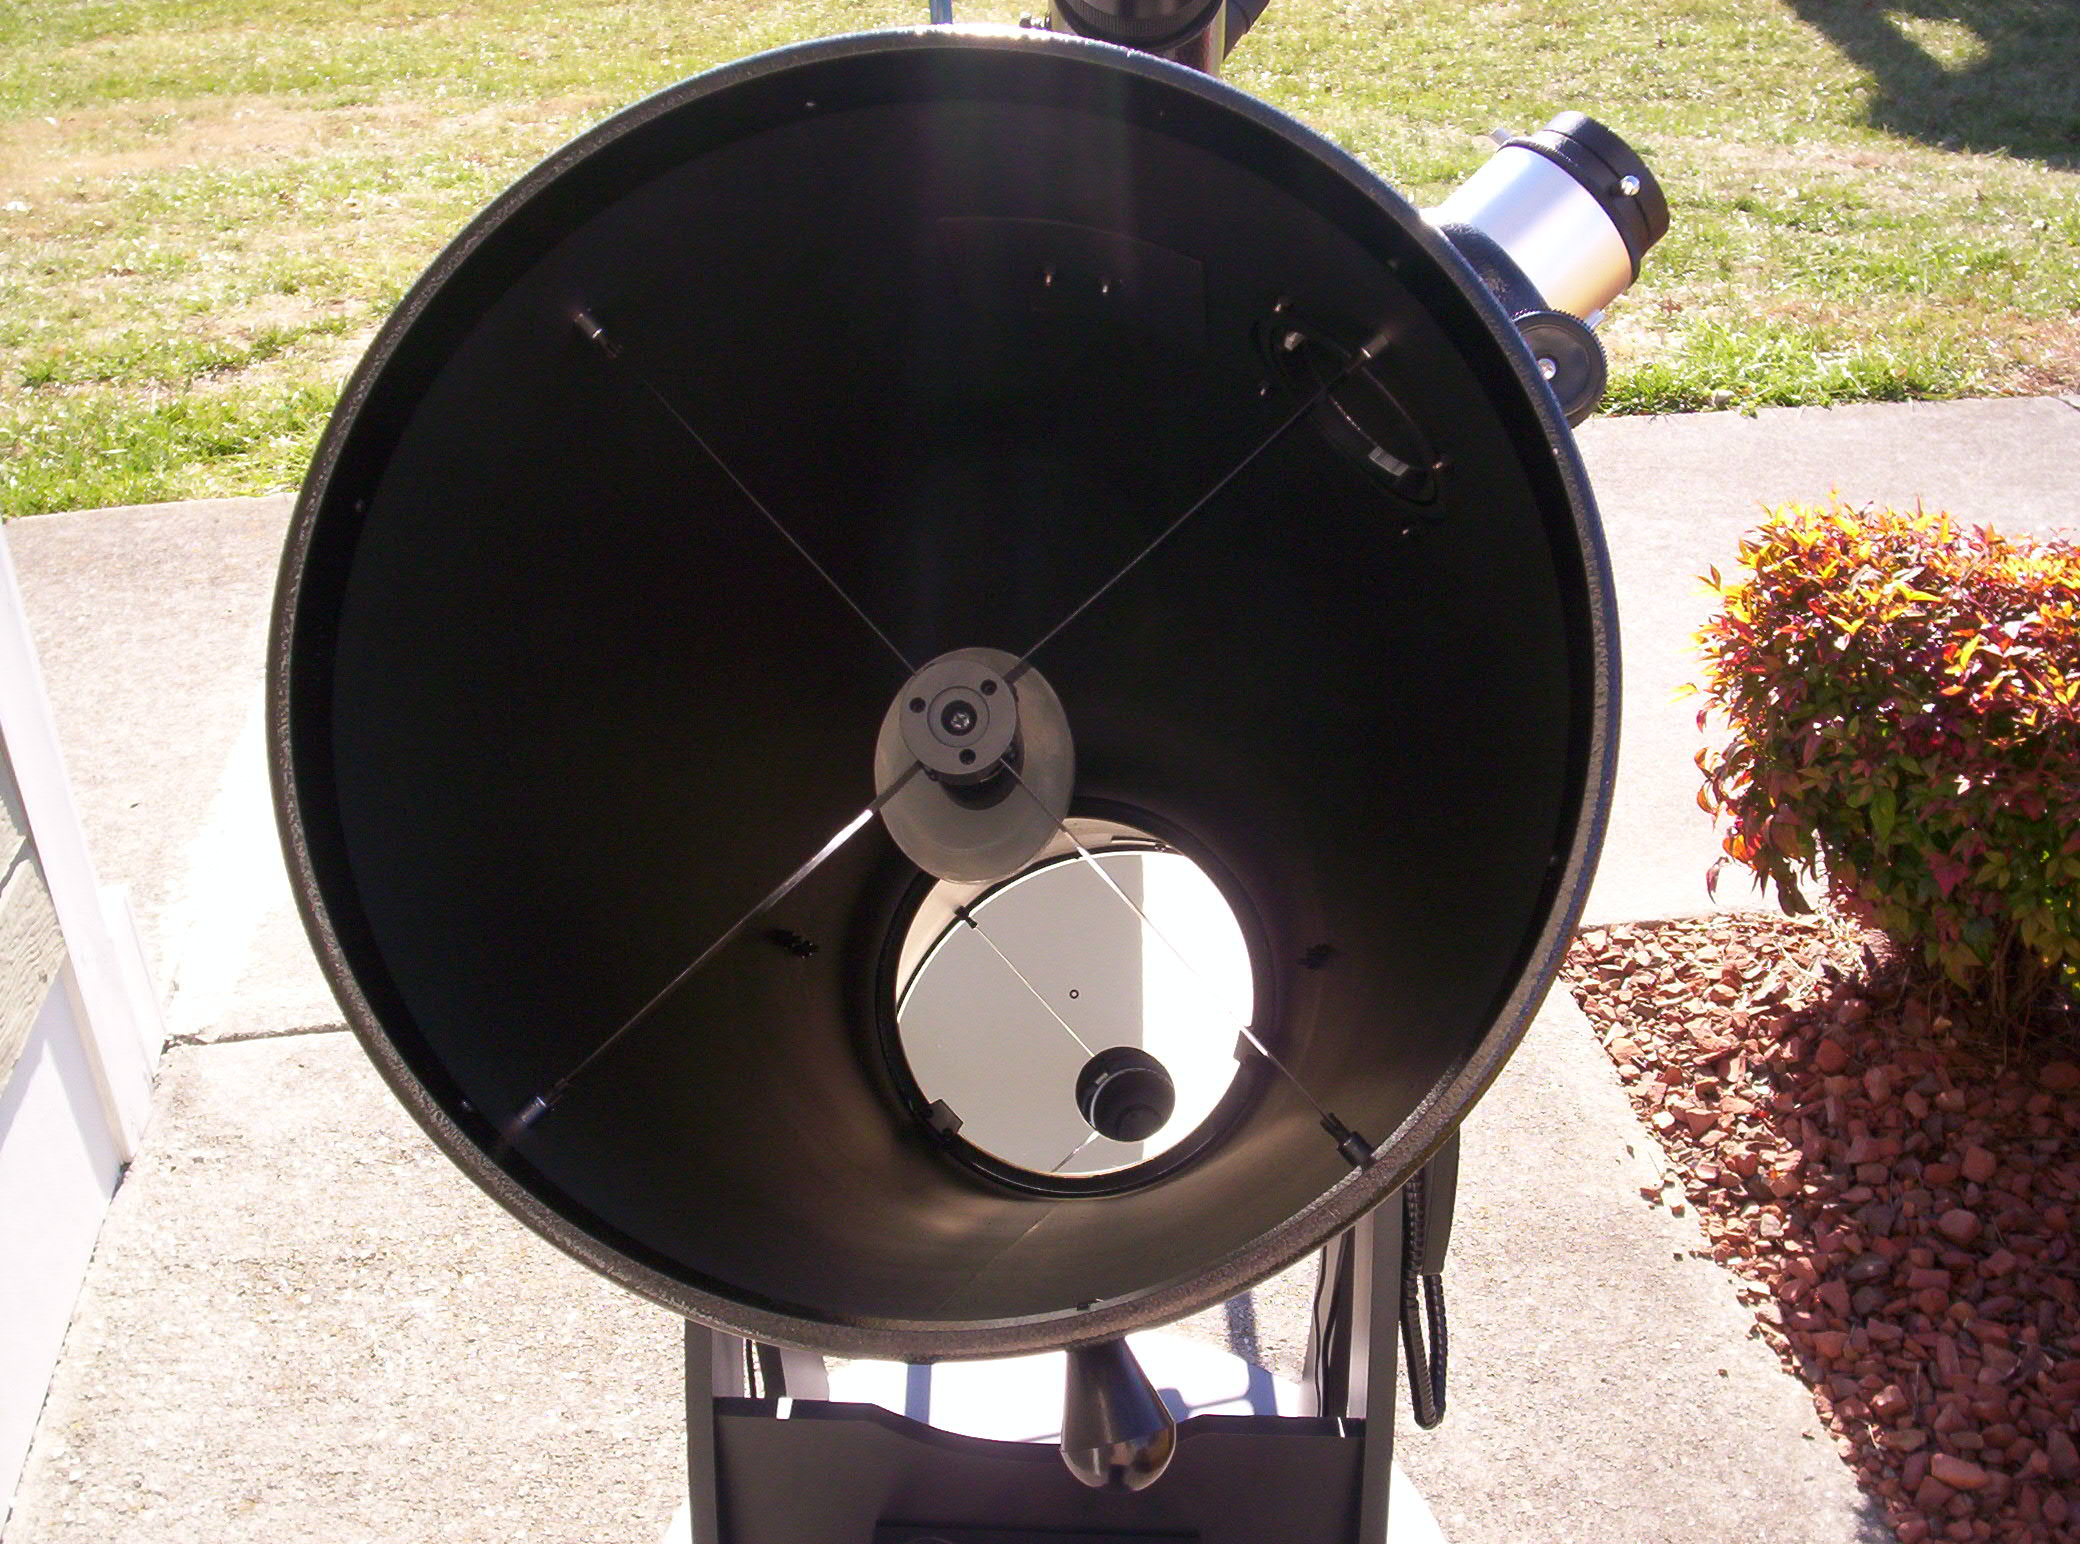
| Looking down the OTA toward the mirror. The black object at the open end of the OTA is the secondary mirror, mounted on a 4-leg "spider" -- the four thin metal arms that support the secondary mirror. |
 |
And here's the final photo.
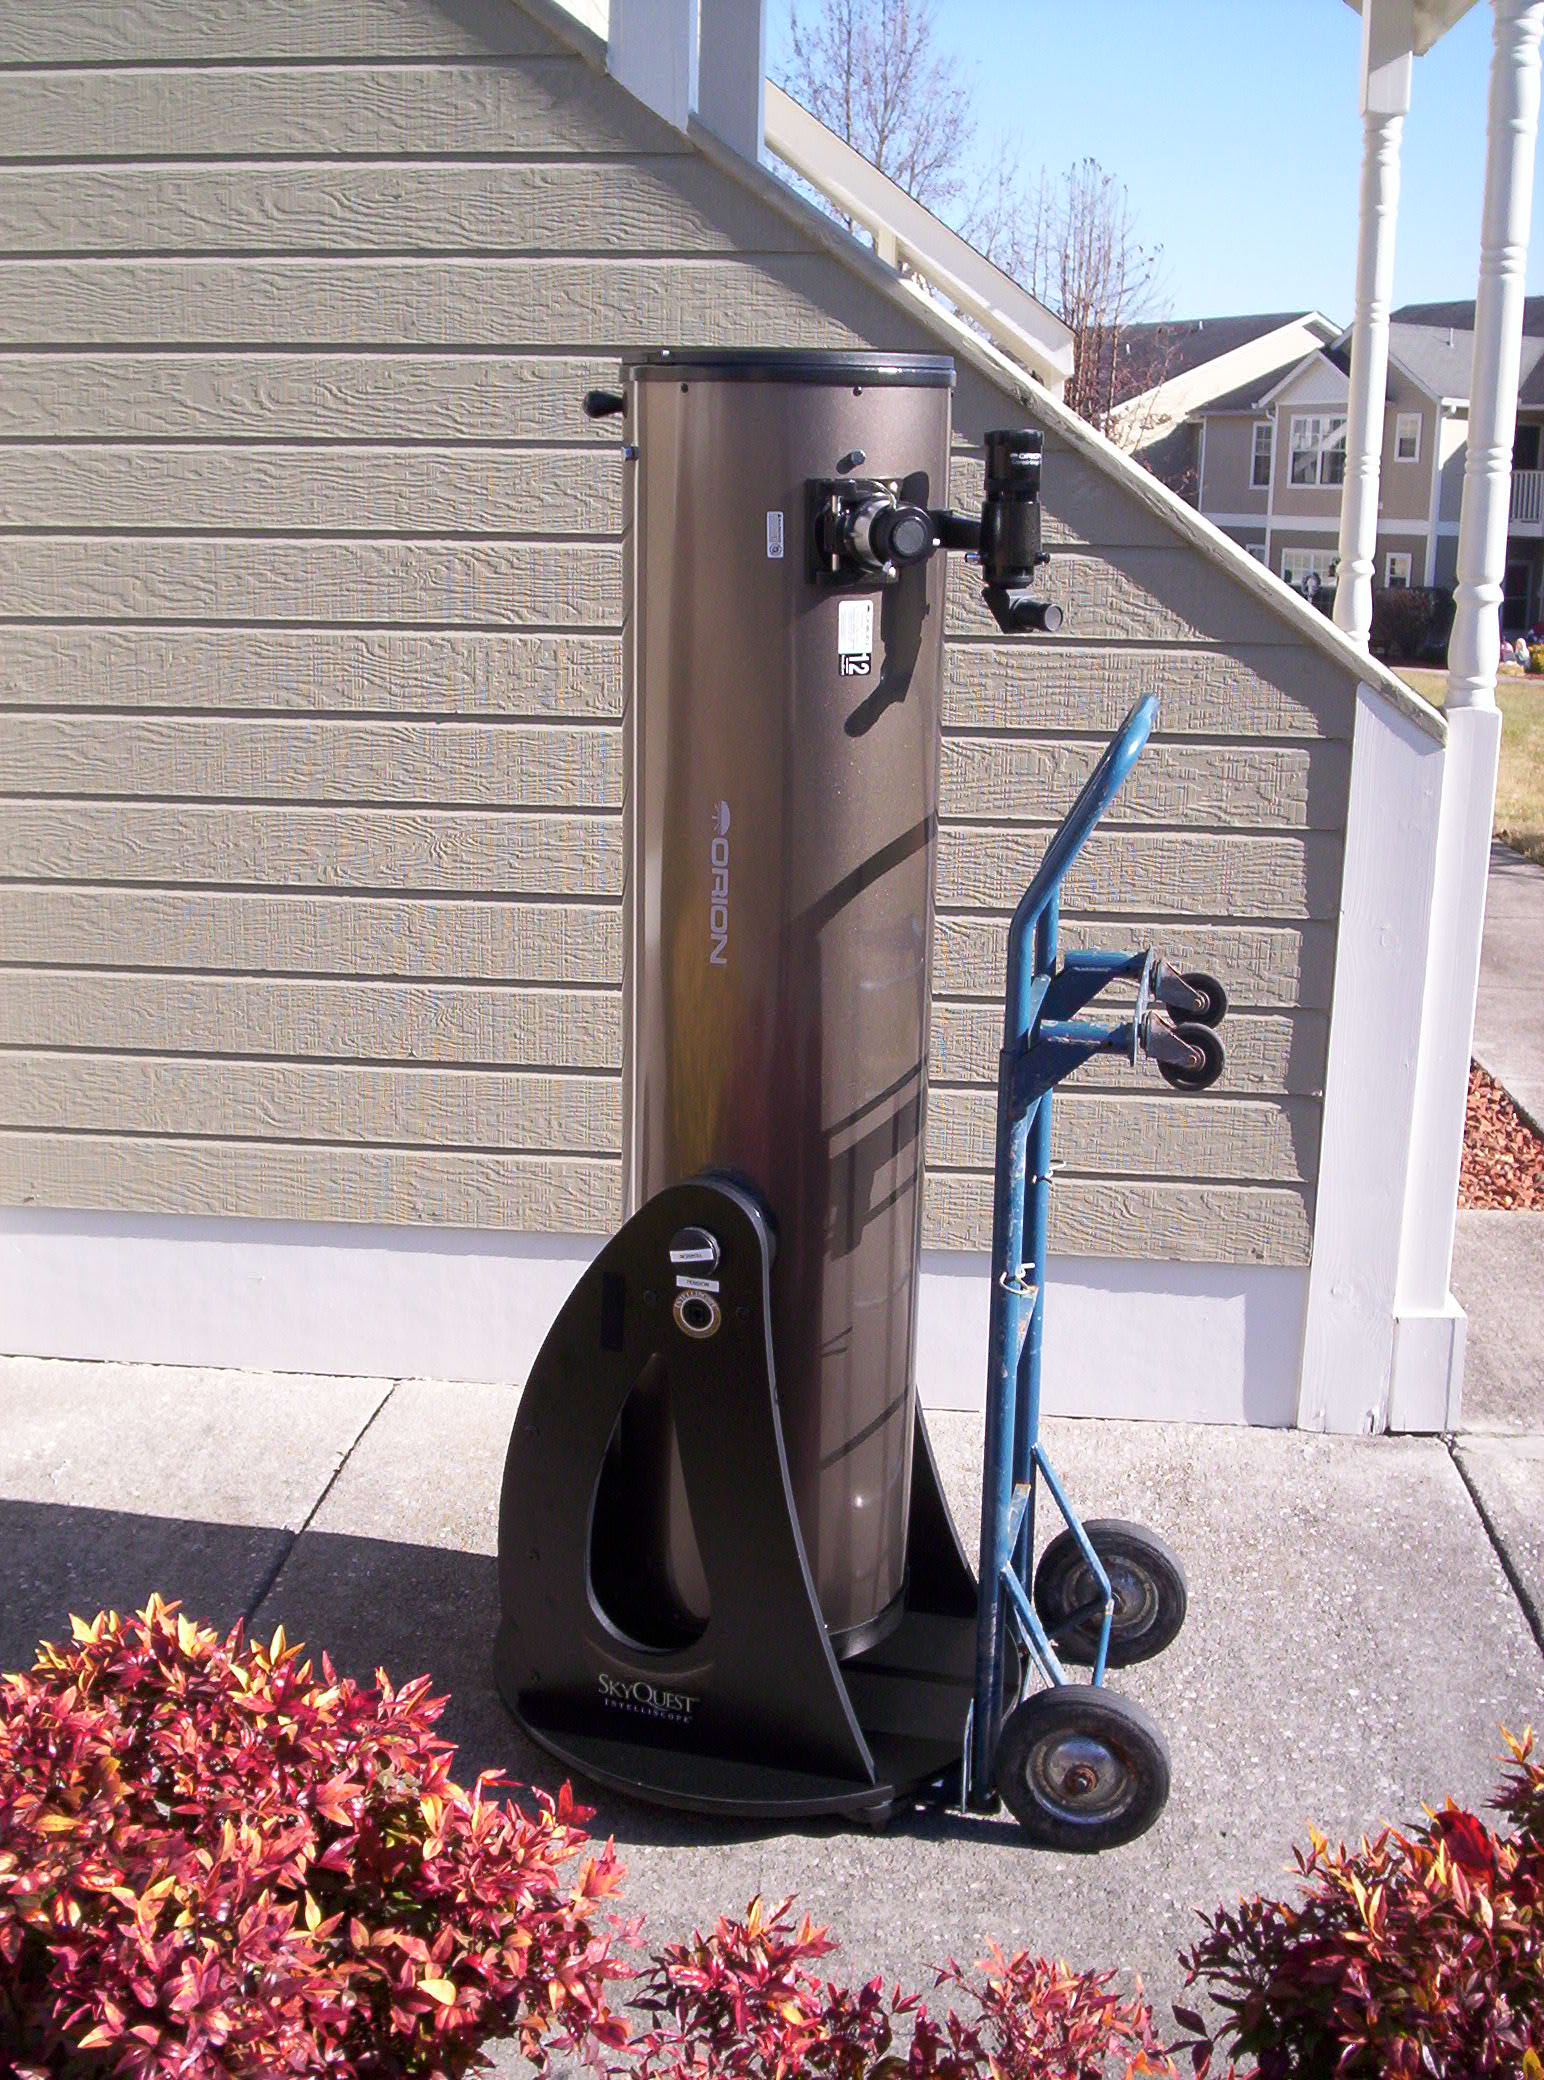
In this photo, the scope is pointing straight up. Obviously, objects in the sky are not straight overhead -- so -- to use the scope, we need to move it from right to left and up and down. That's the beauty of the Dobsonian mount.
- Notice that the part of the mount that is resting on the dolly is round. This photo is a bit deceiving -- the bottom is actually two pieces -- the big round piece and underneath it, out of sight, is a triangular piece. The triangular piece has a foot on each corner that sits on the ground. There are three Teflon pads between the bottom base (triangle) and the round piece -- the scope turns around to the left or right as you push or pull on the upright parts of the base.
- The OTA has two bearings -- you have seen these already in previous photos. These bearings ride on bumpers on the top inside of the vertical parts of the scope base -- the OTA then swivels up and down -- like the barrel of a cannon.
- Thus, by turning the base around and swiveling the tube up and down, you
cover the whole sky. It's all manual, no batteries to run down, no
power cords to trip over.
If you have any questions, send me an e-mail -- see the link below.
Here are some links about Dobsonian telescopes, including instructions about building your own
- http://sfsidewalkastronomers.org/telescopes/building
- http://www.moonlightsys.com/atm/
- http://members.aol.com/sfsidewalk/cdobplans.htm
- http://www.phys.vt.edu/~jhs/dobsonian.html
- And -- here's a link to the Orion Intelliscope owner's manual. This manual describes only the XT-6, -8, and -10 Intelliscopes. The XT-12 is exactly the same except that the mirror for the XT-12 is shipped separately and must be installed; base assembly, collimation, and operation are the same. http://www.telescope.com/text/content/pdf/IN_226_SkyQuestXT6XT8XT10.pdf
I am very pleased with this scope. I'll add more to this article as I use the scope and develop hints and tips for it.
| Back to main astronomy page |
| XT-12 telescope page 1 |
| XT-12 telescope page 3 (modifications to the scope and the handtruck) |
|
Back to telescopes page |
| Go to the Intelliscope handheld computerized controller page |